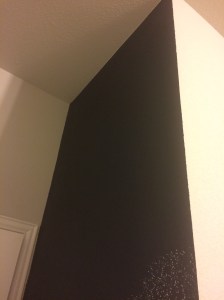
I don’t know about you, but I’m in love with the recent trend of chalkboard walls. I mean, they’re adorable . . . right? I decided to turn a small wall into a chalkboard wall. I hope that these super easy instructions will inspire you to create your own chalkboard wall one day!
Supplies:
- Chalkboard Paint
- Paint Rollers and Brushes
- Paint Tray
- Paint Stirring Stick
- Plastic
- Painter’s Tape
- Paper Towels
- White Chalk
- Rag
Instructions:
- First of all, decide which wall you want to paint. Then, tape around all of the edges of the wall with painter’s tape. Make sure that the tape lines up evenly and right on any edges or curves of the wall. Place plastic on the floor where you are painting and on any frames or molding that you don’t want paint on.


- Shake your can of paint really well, open it, and stir it with a paint stirring stick. Pour some of the paint into a paint tray, roll your paint roller in it, and apply it to the wall. Cover the whole wall, getting as close to the edges as possible. Then switch and use a small paint brush to get the edges. Once you cover the whole wall pretty well, allow it to dry for 1-4 hours before applying the next coat.
- Repeat that paint processes, making sure that the whole wall is completely covered. Once you finish, wash all brushes and clean up. Let the second coat dry for about 10 minutes, and then pull off the painters tape at a 45 degree angle. Use a wet paper towel to smooth out any of the paint that might have seeped through the painter’s tape.
- Leave your wall for at least 3 days to dry. Condition the wall by rubbing the side of a piece of chalk all over the wall and wipe off any extra dust with a rag. Conditioning the wall will make it easier to erase chalk later as you write on it.

- Now your chalkboard wall is ready to use! If you every want to clean your wall, wipe it down with a wet paper towel and condition the wall again with the side of a piece of chalk.
